A couple months back my wife asked me, "ilex, I want to make a ring for my fiancée out of some wood from the forest behind our house." And, being a good partner, I said, "Sure thing, give me a bit to scheme out how to do this."
This is the tale of the resulting adventure. kleinbl00, look away now lest you be horrified by shavings on a chips lathe!
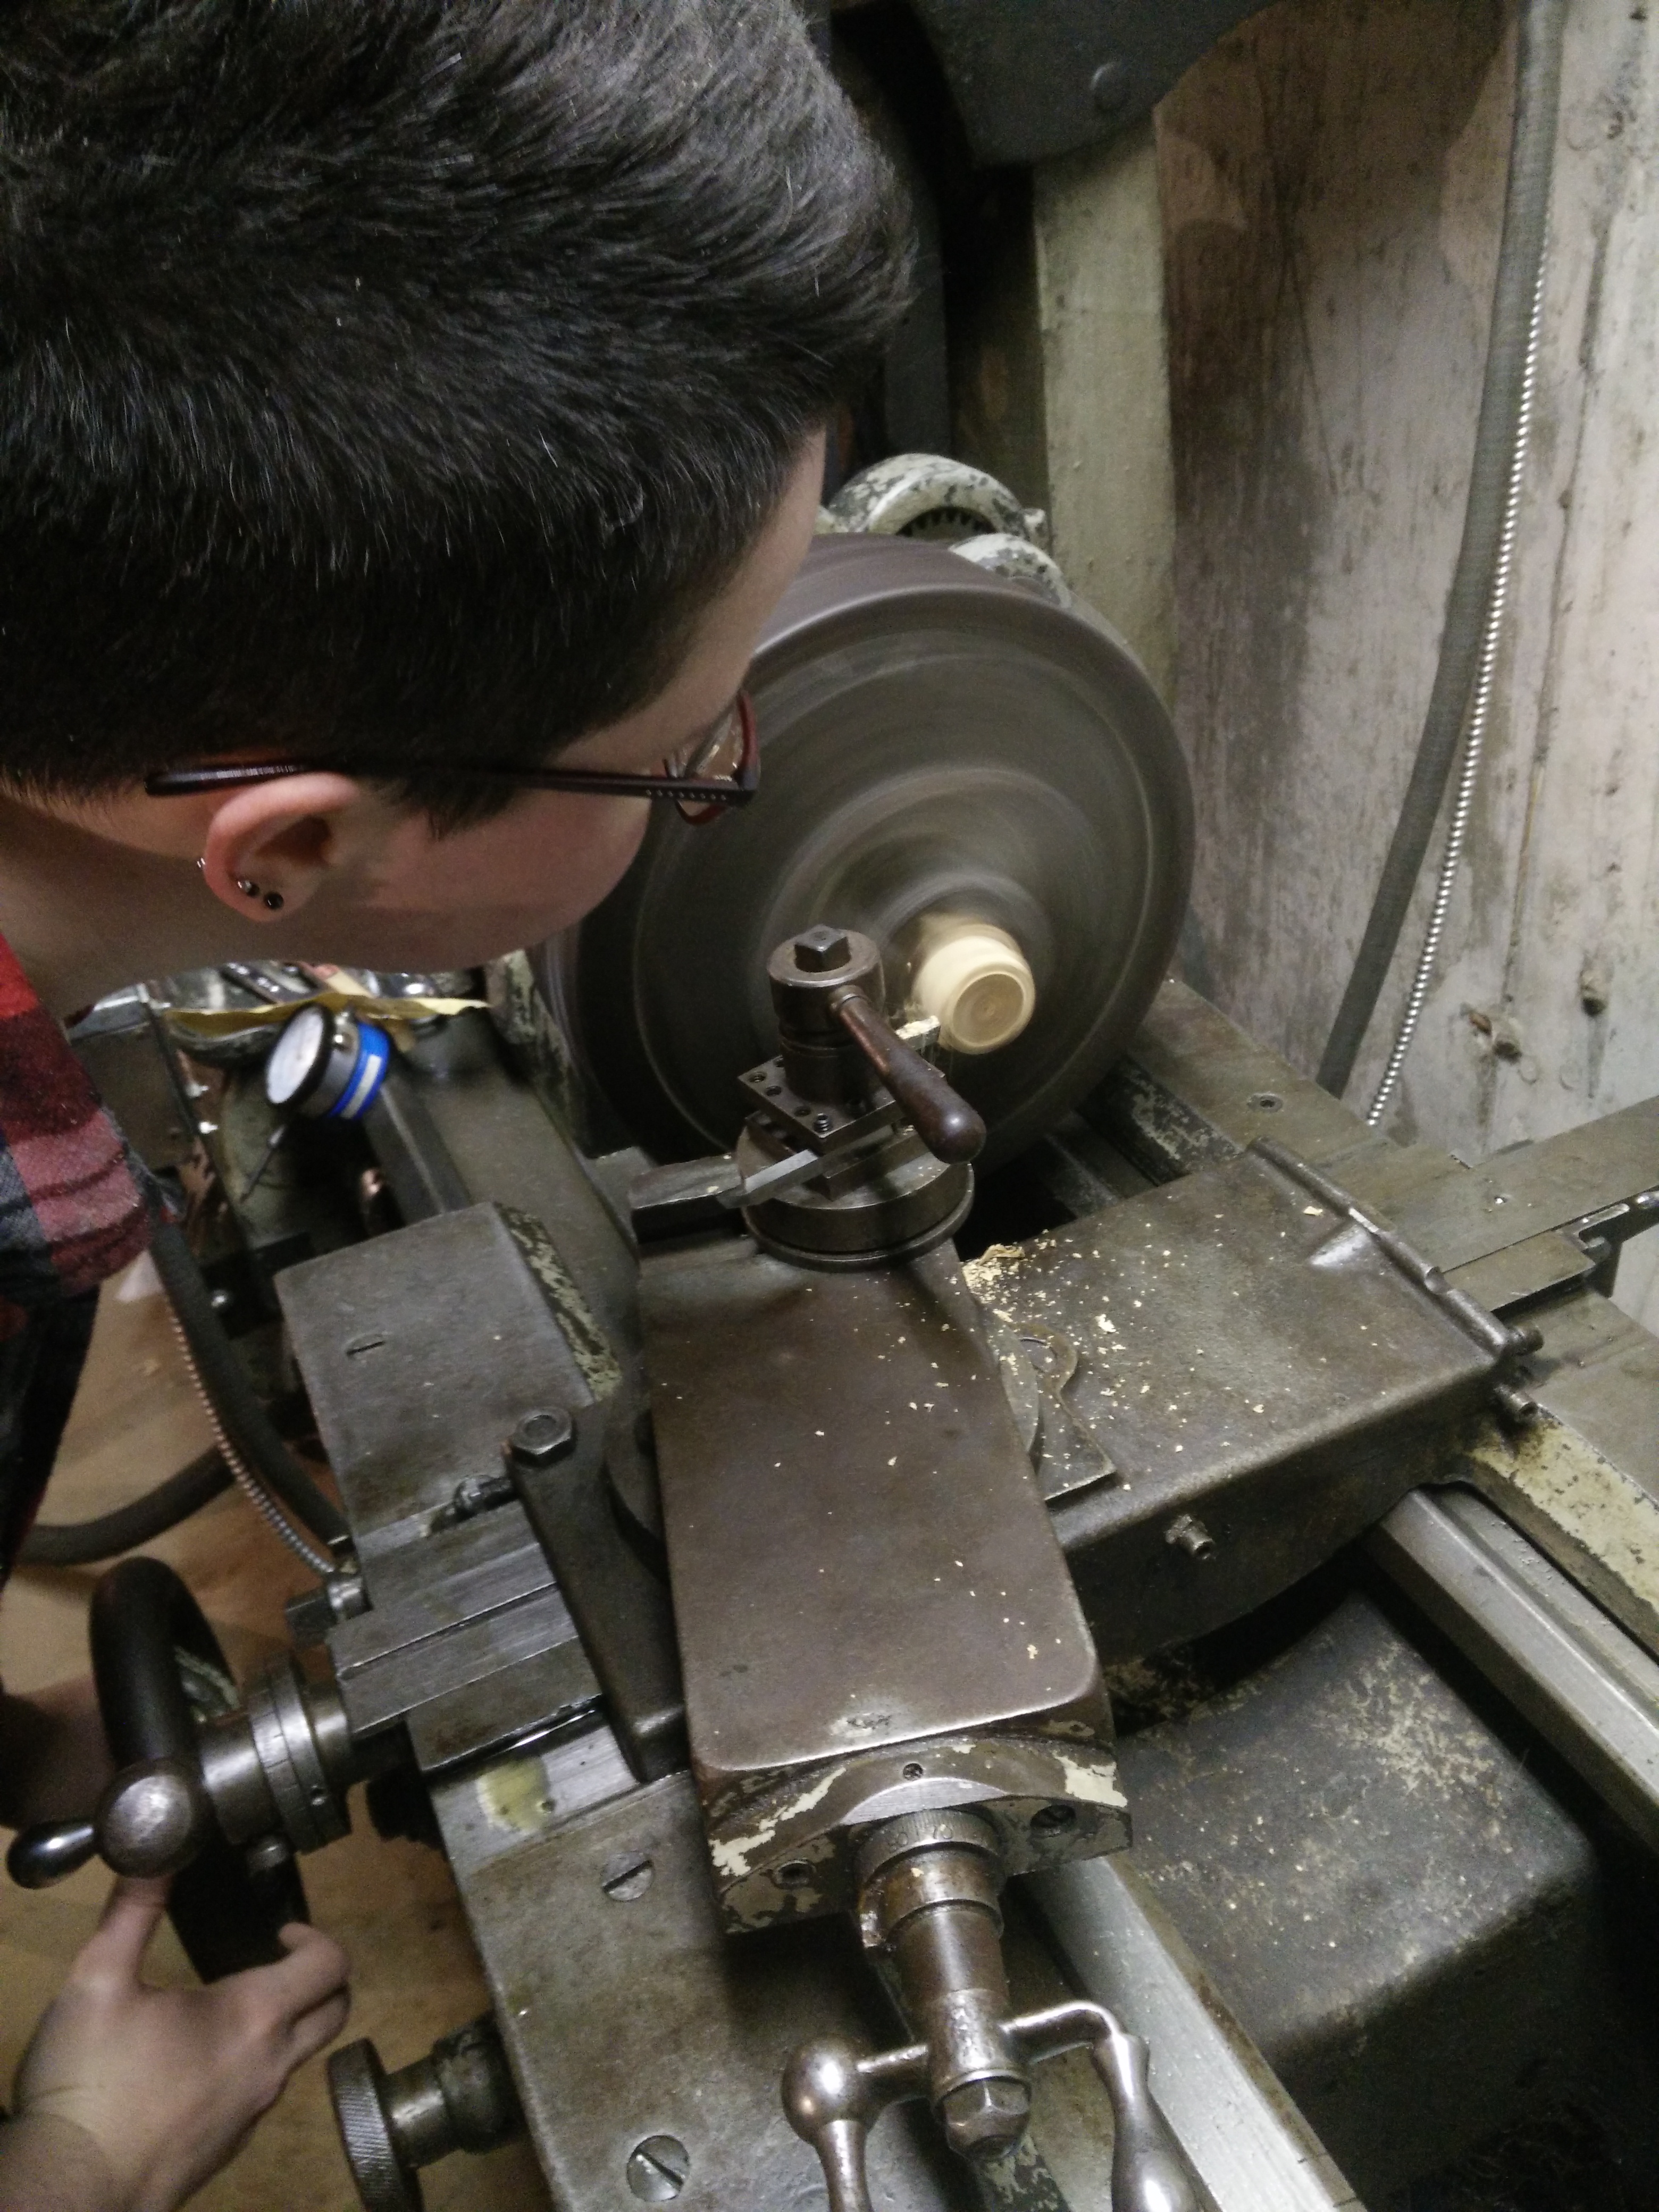
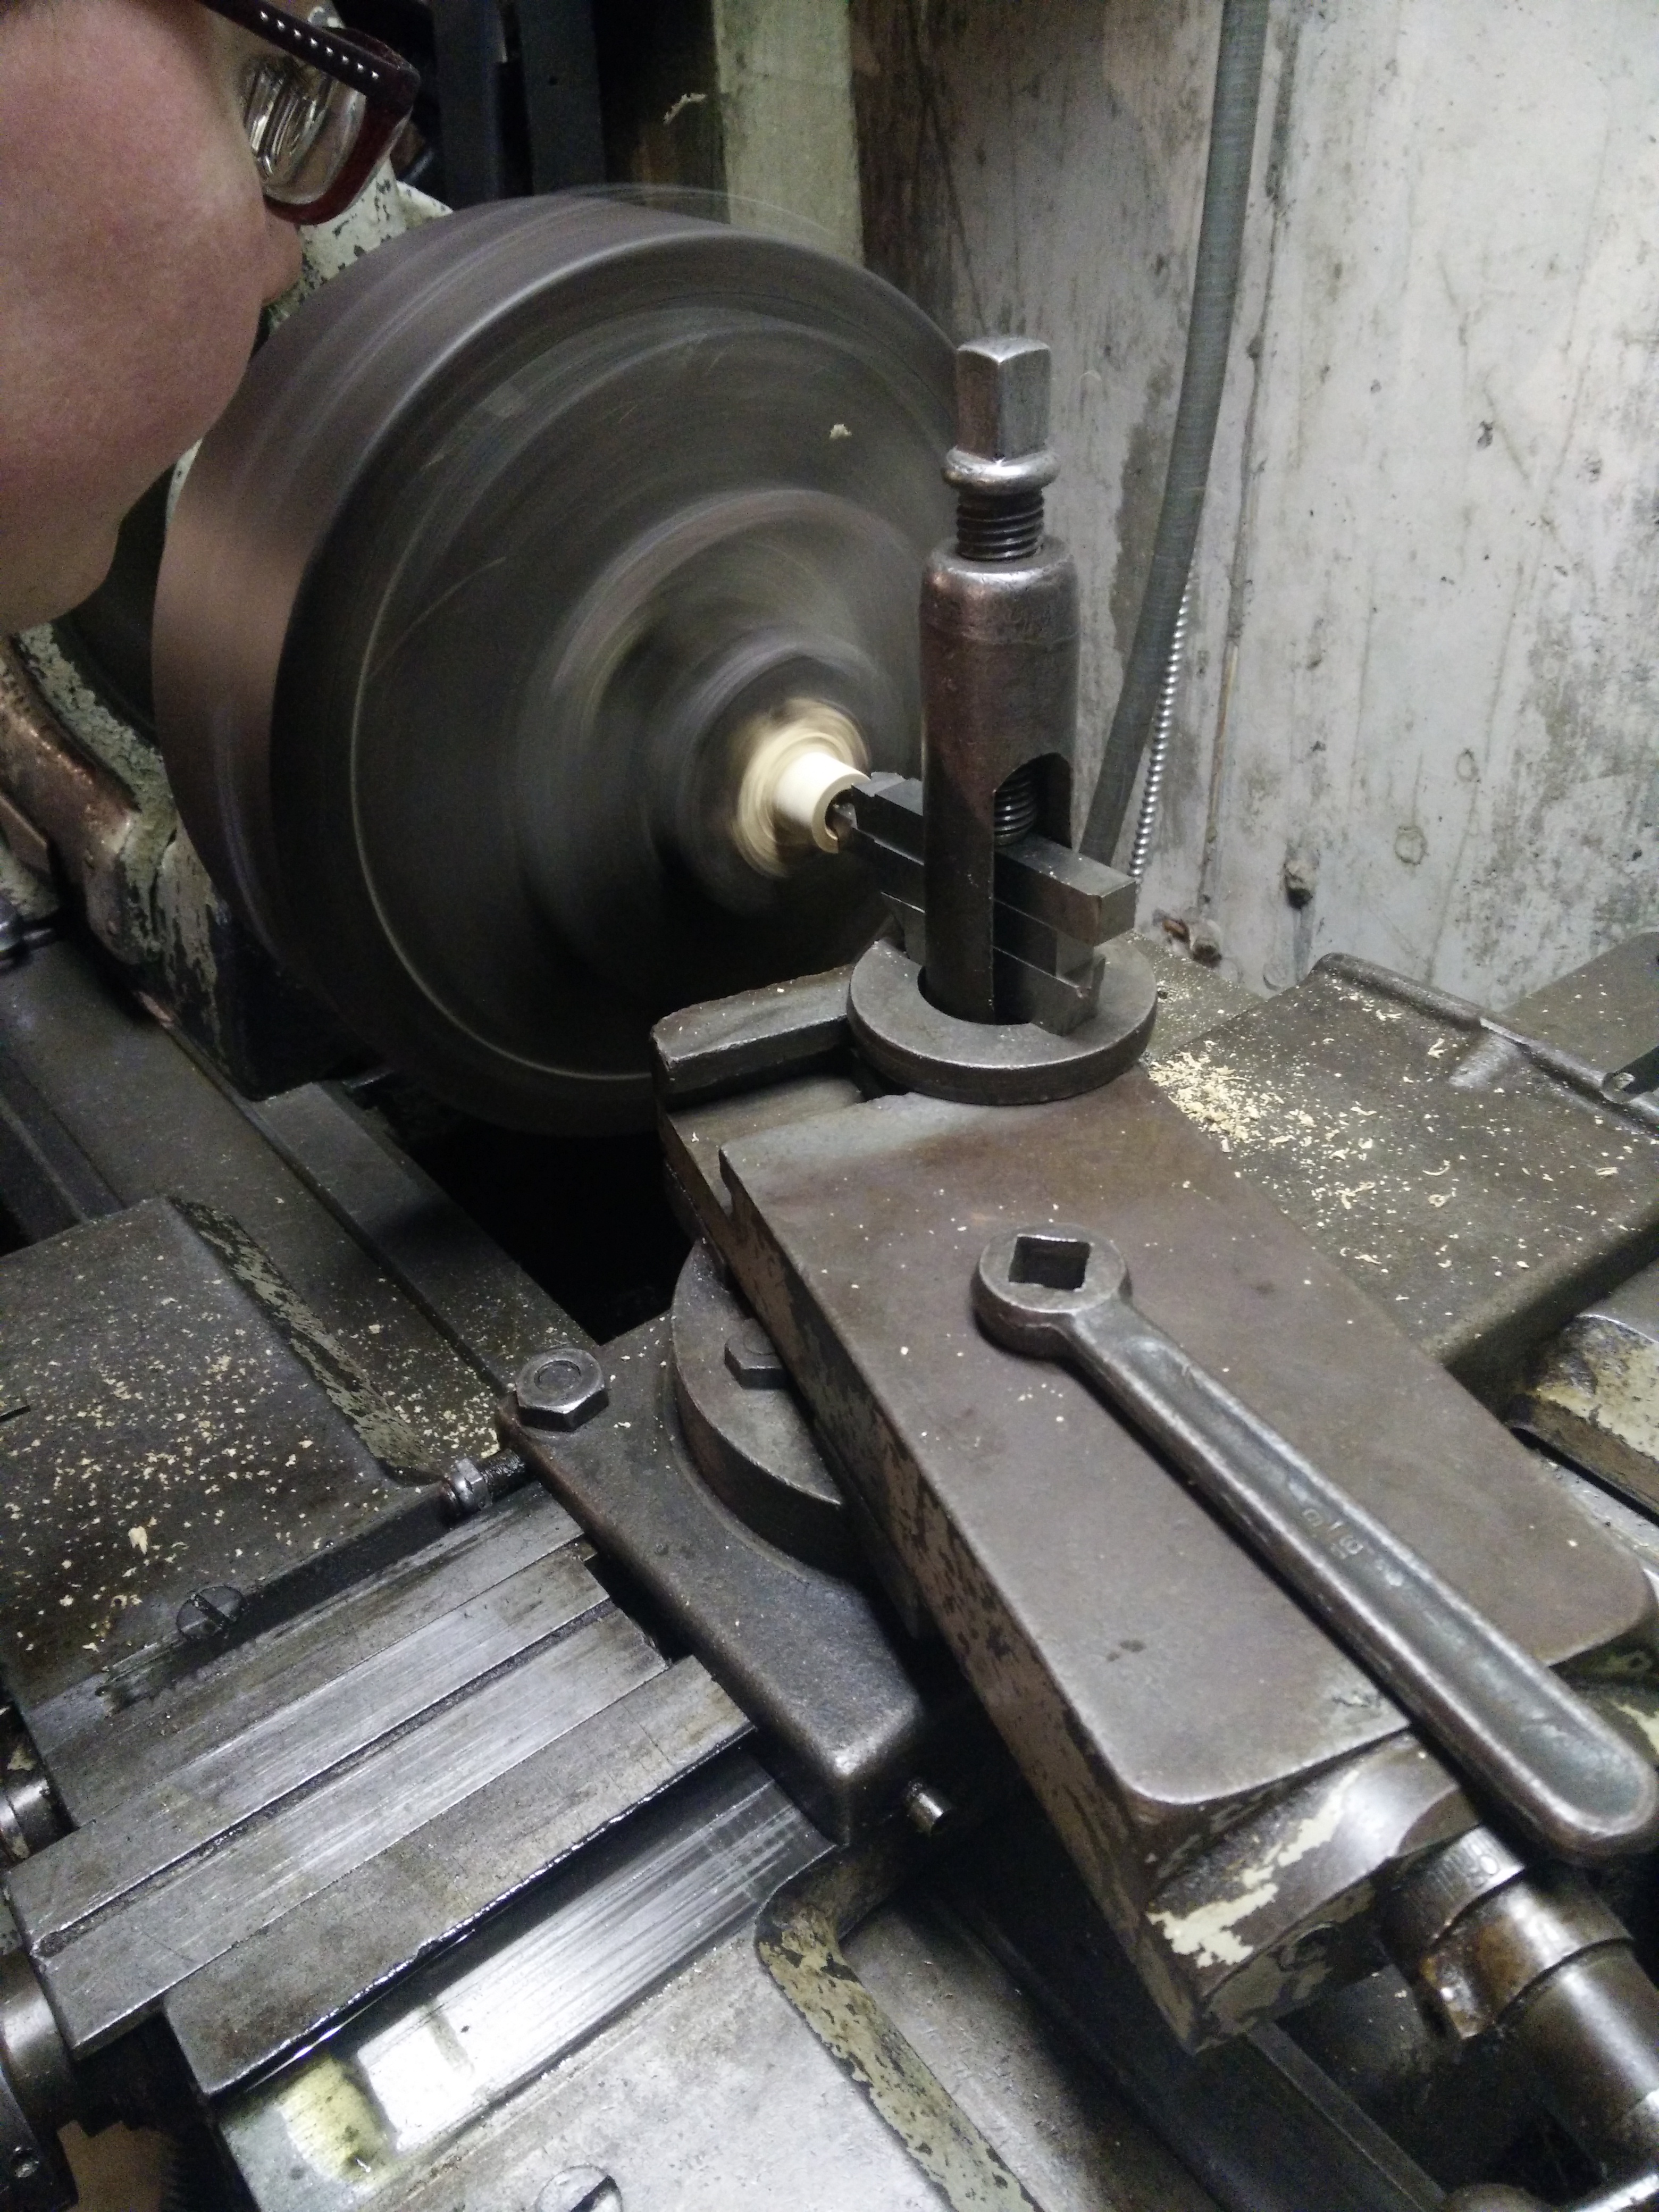
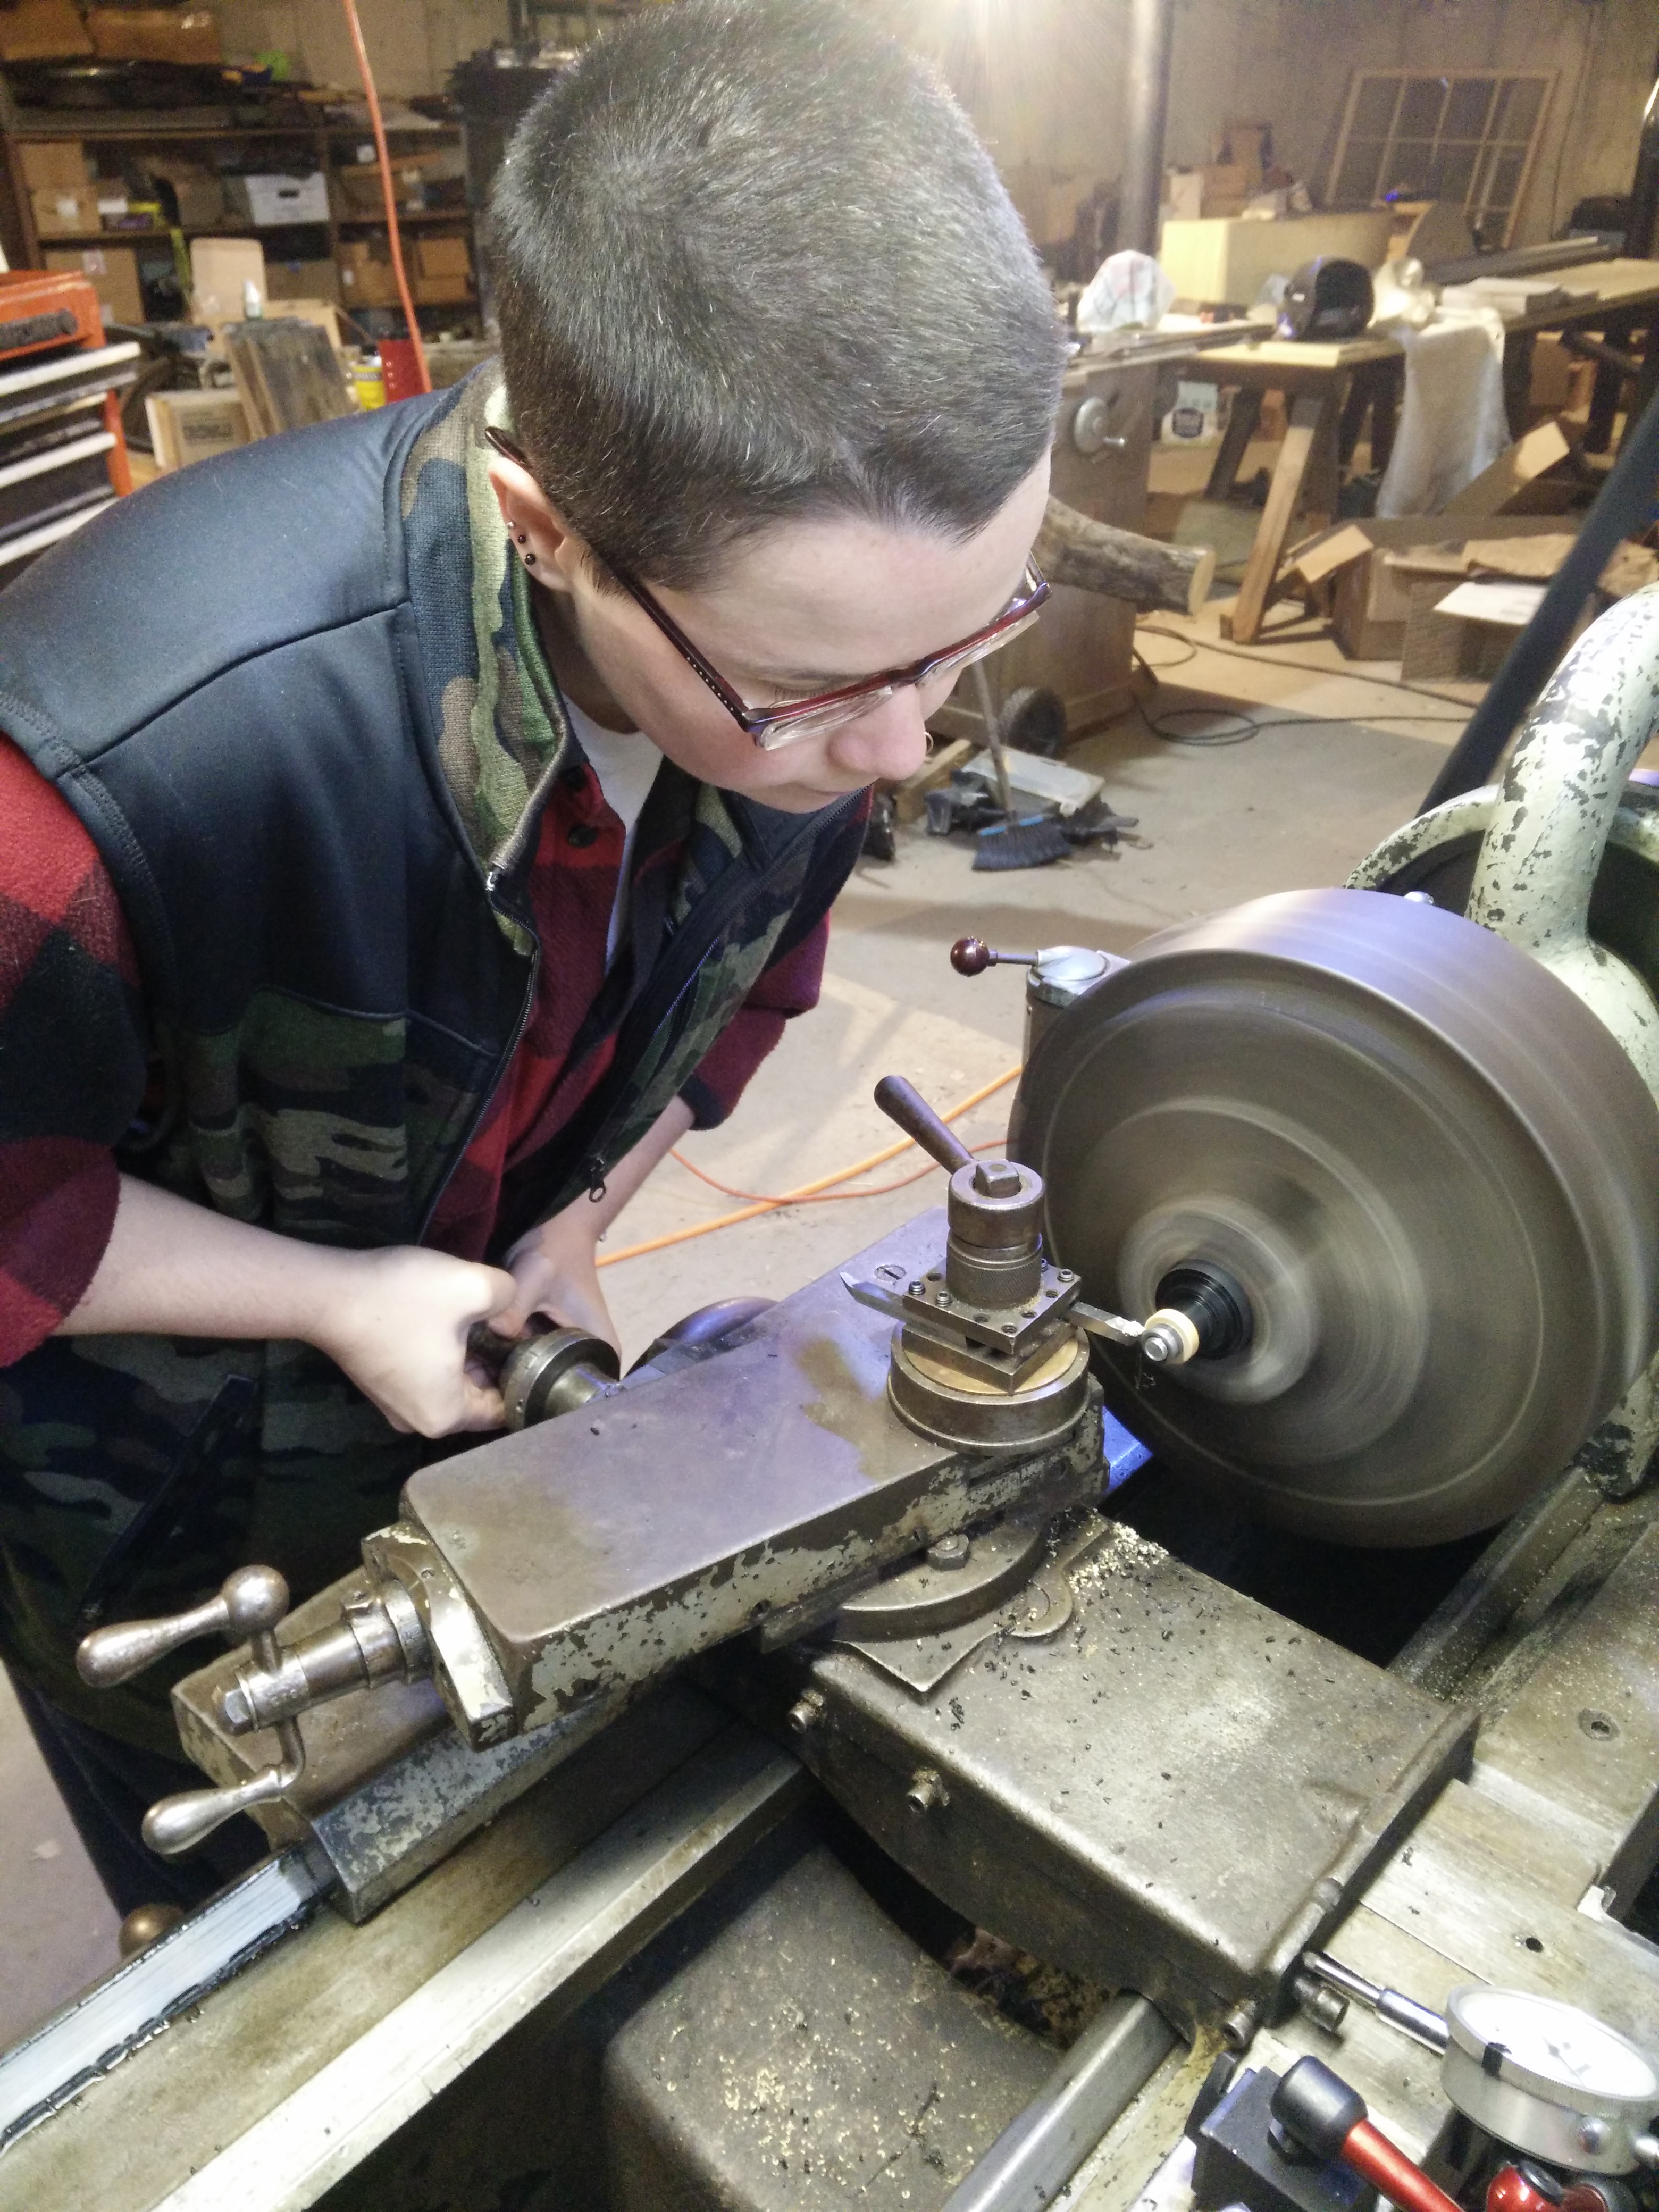
My wife's is made of black oak, her wife's is made of dogwood, both gathered from fallen trees that hadn't decomposed too far. Once we cut the wood into a shape small enough to fit on the lathe, we roughed it to within maybe 20 thou of finished dimensions:
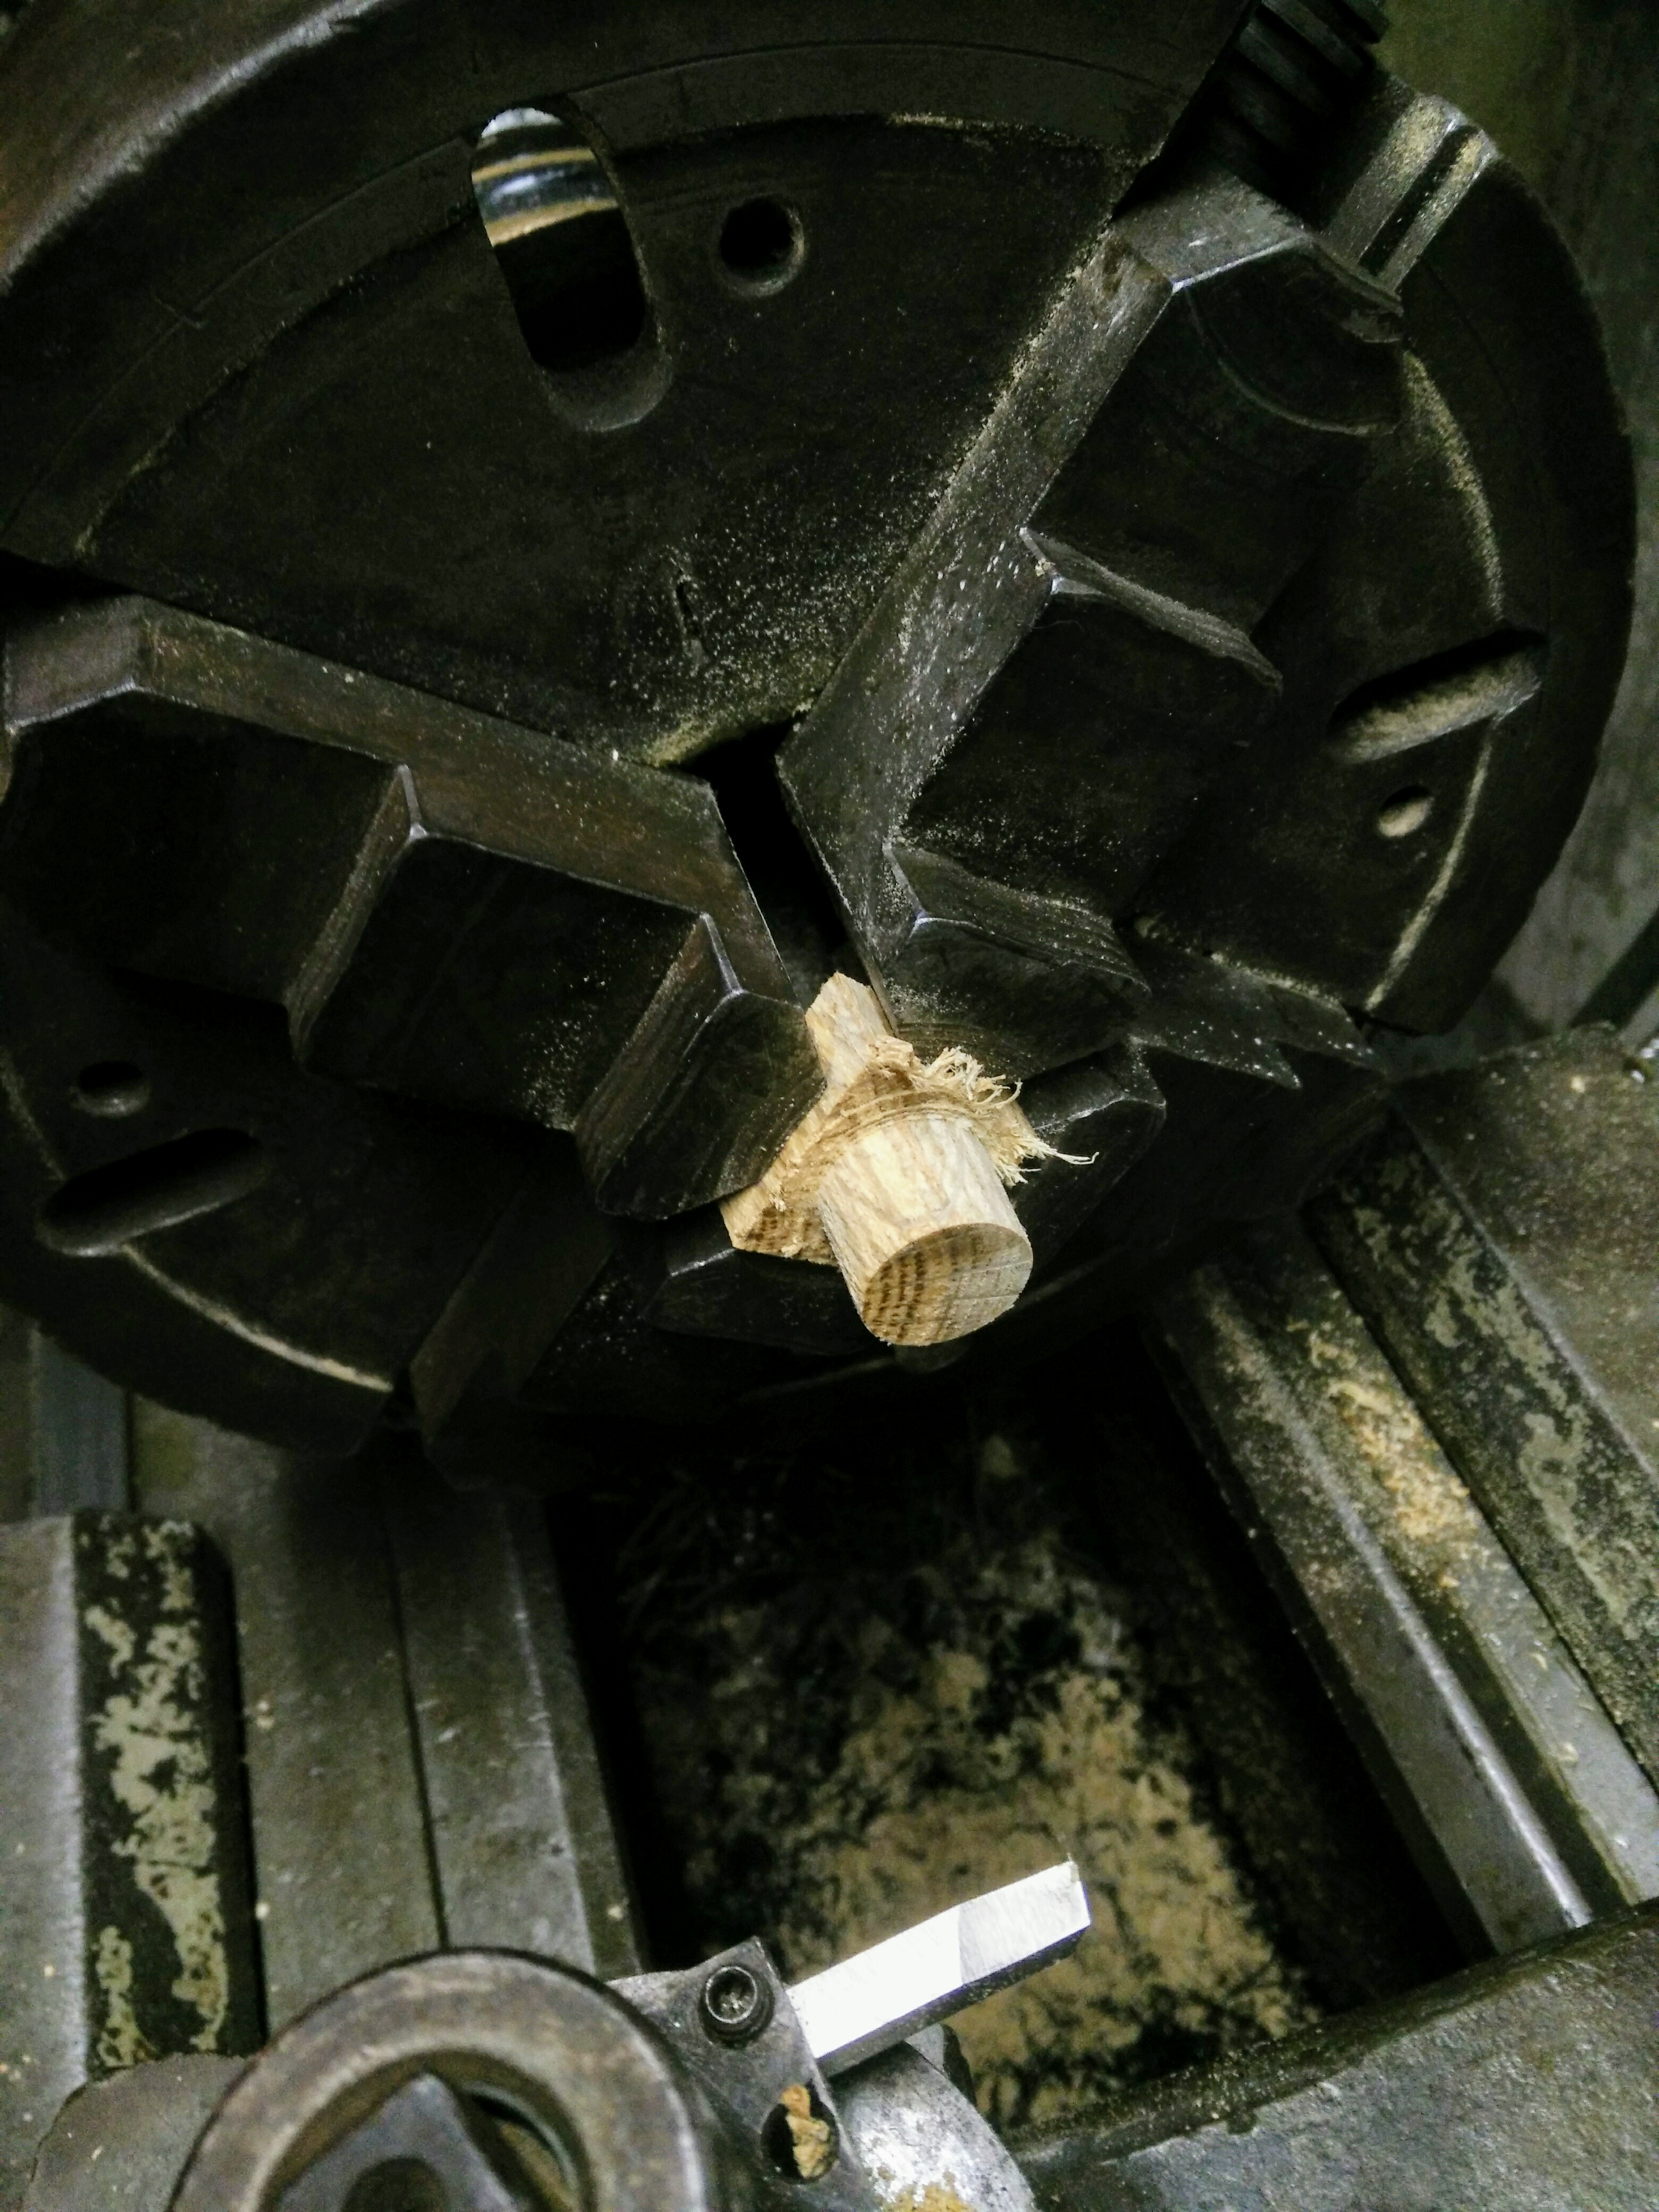
Then bored the hole again to about 20 thou under finished dimension:
We made a few blanks of each one as it's basically free. Once they were shaped, we used a V-shaped tool to cut a guide groove and cut each one off with a coping saw.
We dunked them in wood hardener for a few hours (or sometimes overnight), then dried for 24 hours. This helped keep the finishing cuts from tearing out at the grain and maybe contributed a bit of tensile strength to the blanks. I'd guess it penetrates about 30 thou into the surface of the wood based on how the cuts behaved.
At this point we spent a fair bit of time figuring out exactly how big to make things, which required a lot of fiddly measuring of things. We got it wrong a couple times...
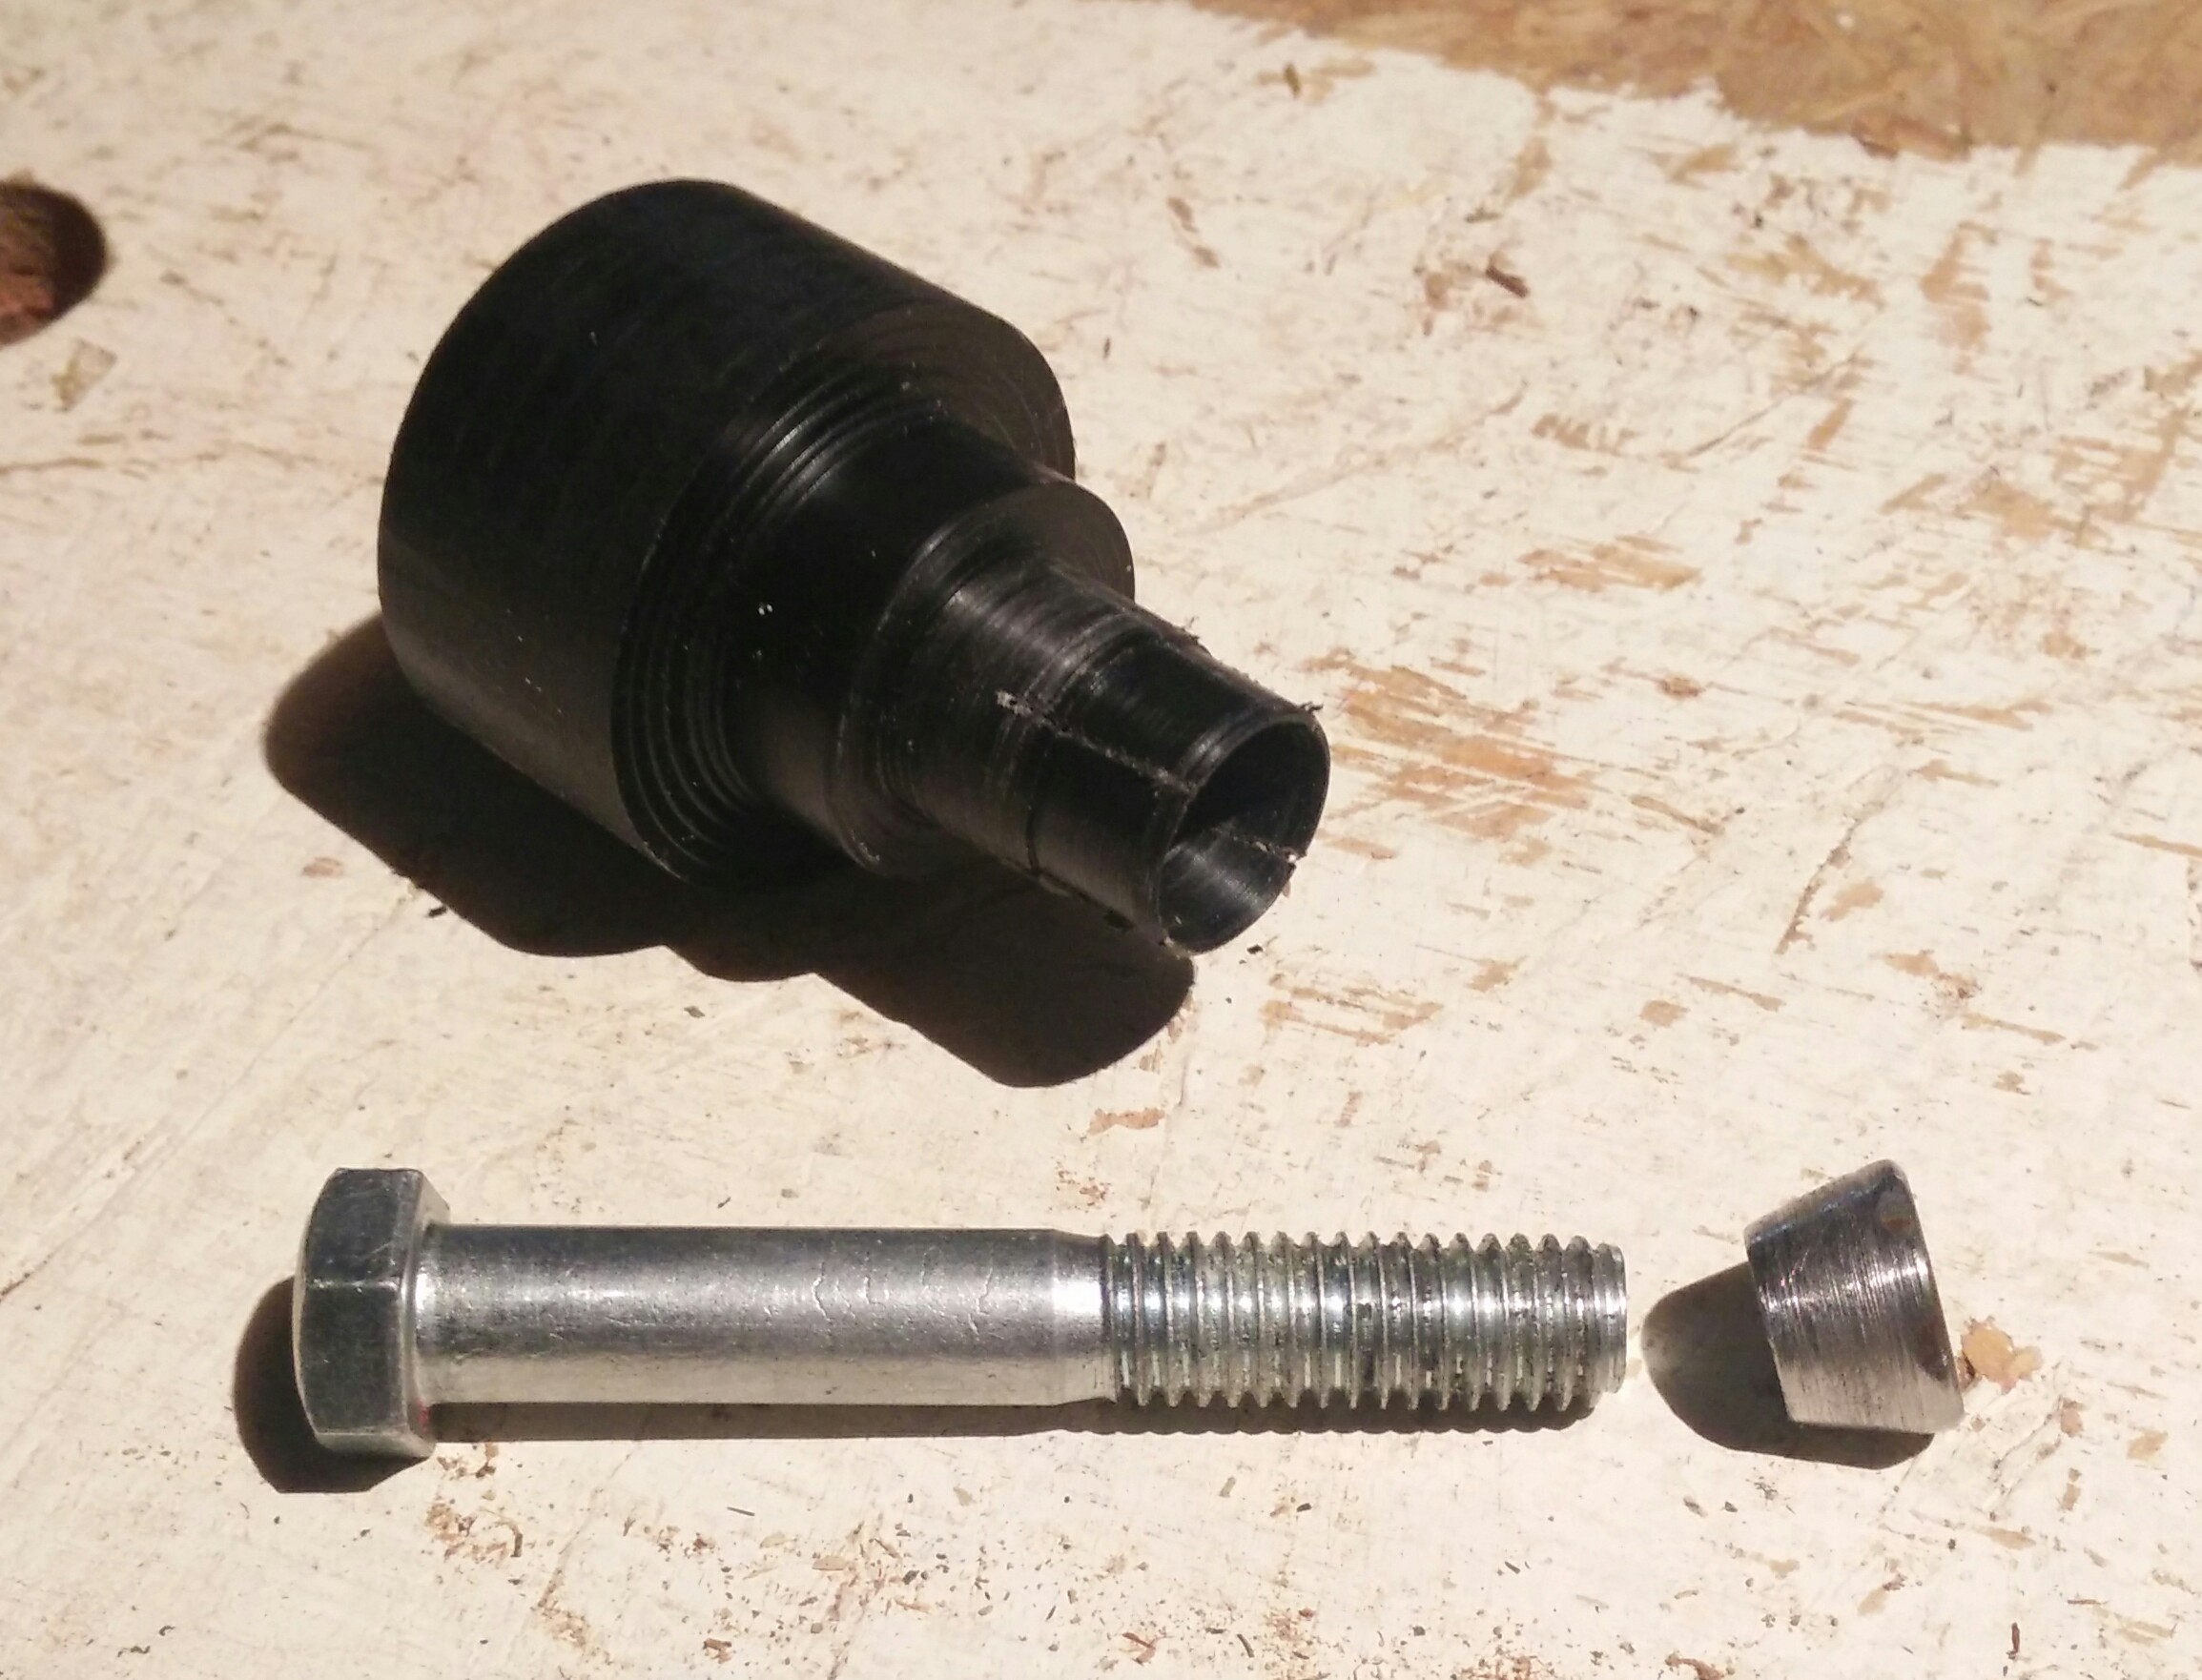
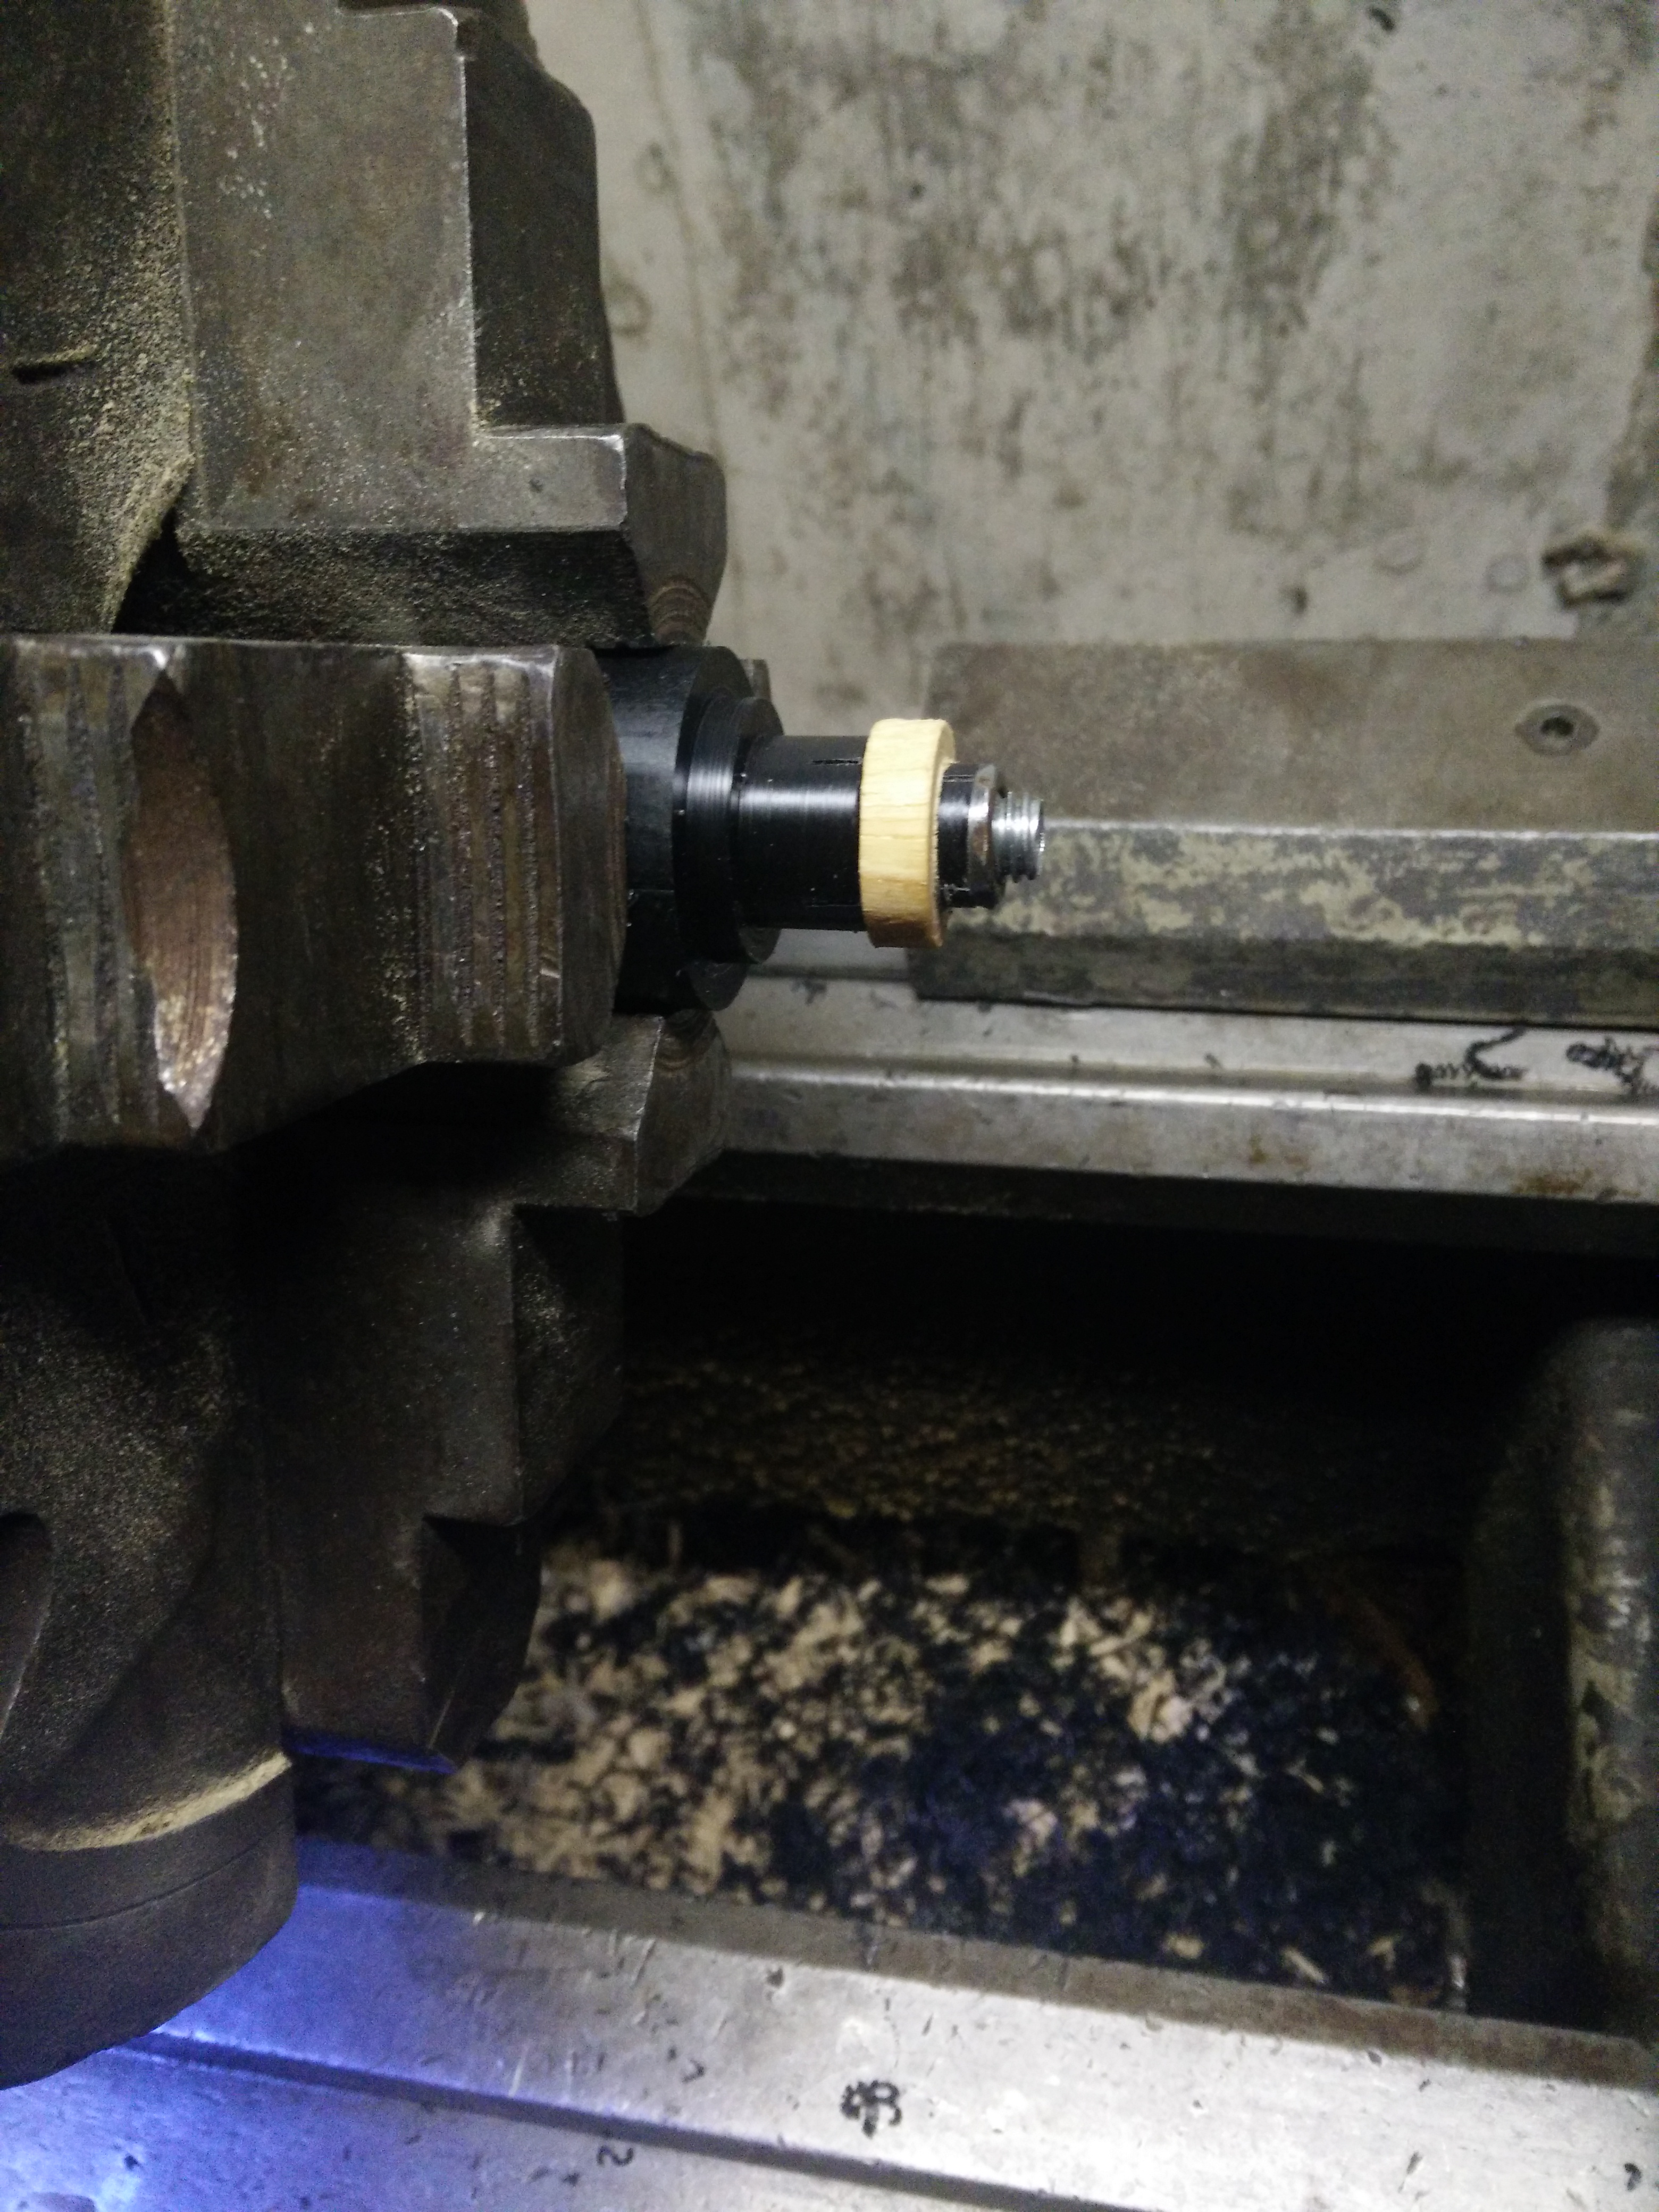
To hold the rings for the finish cuts I made a handful of fixtures of two primary types. First, for outside turning, an expanding collet:
This one was a pain to use. The taper on the nut is about 10 degrees which gives a fair bit of expansion but also means that the difference between a tight grip and a snapped ring is about half a turn. I think we scrapped three rings due to that alone; wood really does not like tension. Combining the taper and the nut in one part gave about a 10 thou repeat error as the taper and the threads are not exactly concentric. It'd be better to have a separate tapered part that could self-center and a bolt/nut that just provides the tension. There's some challenge in that, though, as this fixture needs to be safe for hand file work (so the less stuff sticking out the end, the better) and the diameter is pretty small.
The lip on the fixture is quite handy for getting the sides of the ring square and parallel. We hand-filed the radius profile on the ring at this point. A bright white background and a magnifier makes for some pretty precise eyeballing!
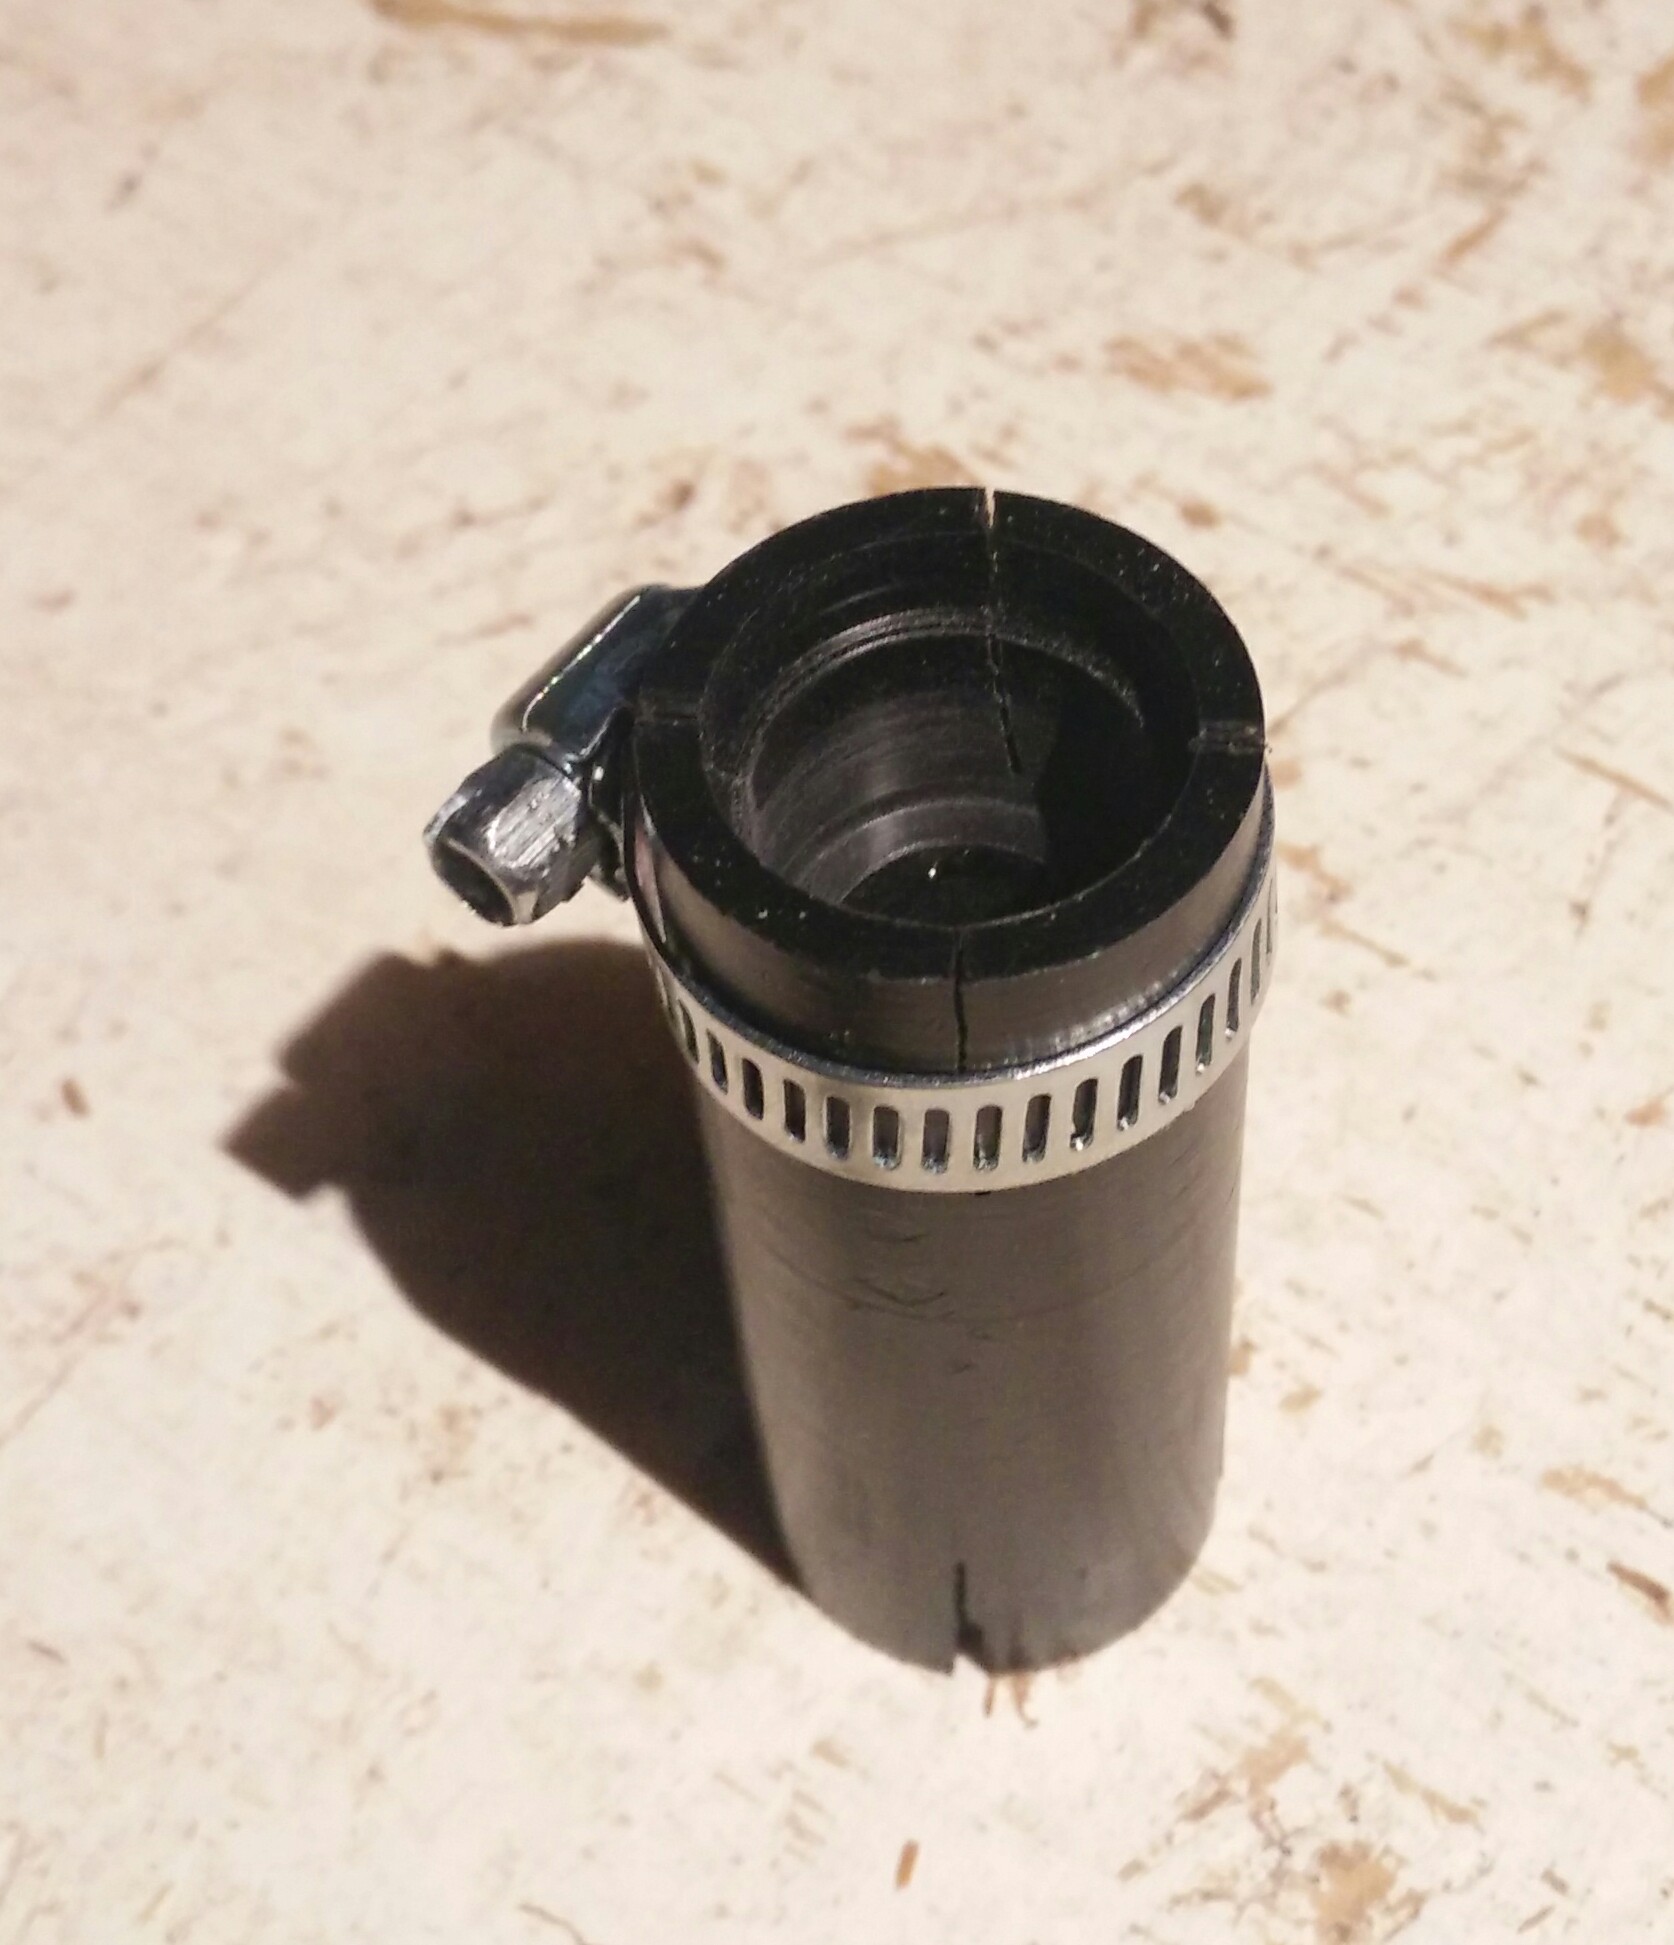
Once the outside was done, we fit them into a contracting collet that we used to finish the inner diameter:
This was a bit easier to use, but a couple of these missed the lip on the inside that makes life easy. The inner radius we did with sandpaper.
After that, we finished the rings with a bunch of hand sanding and several coats of wipe-on polyurethane. It gives a pretty good finish and doesn't stick to skin the way some finishes tend to.
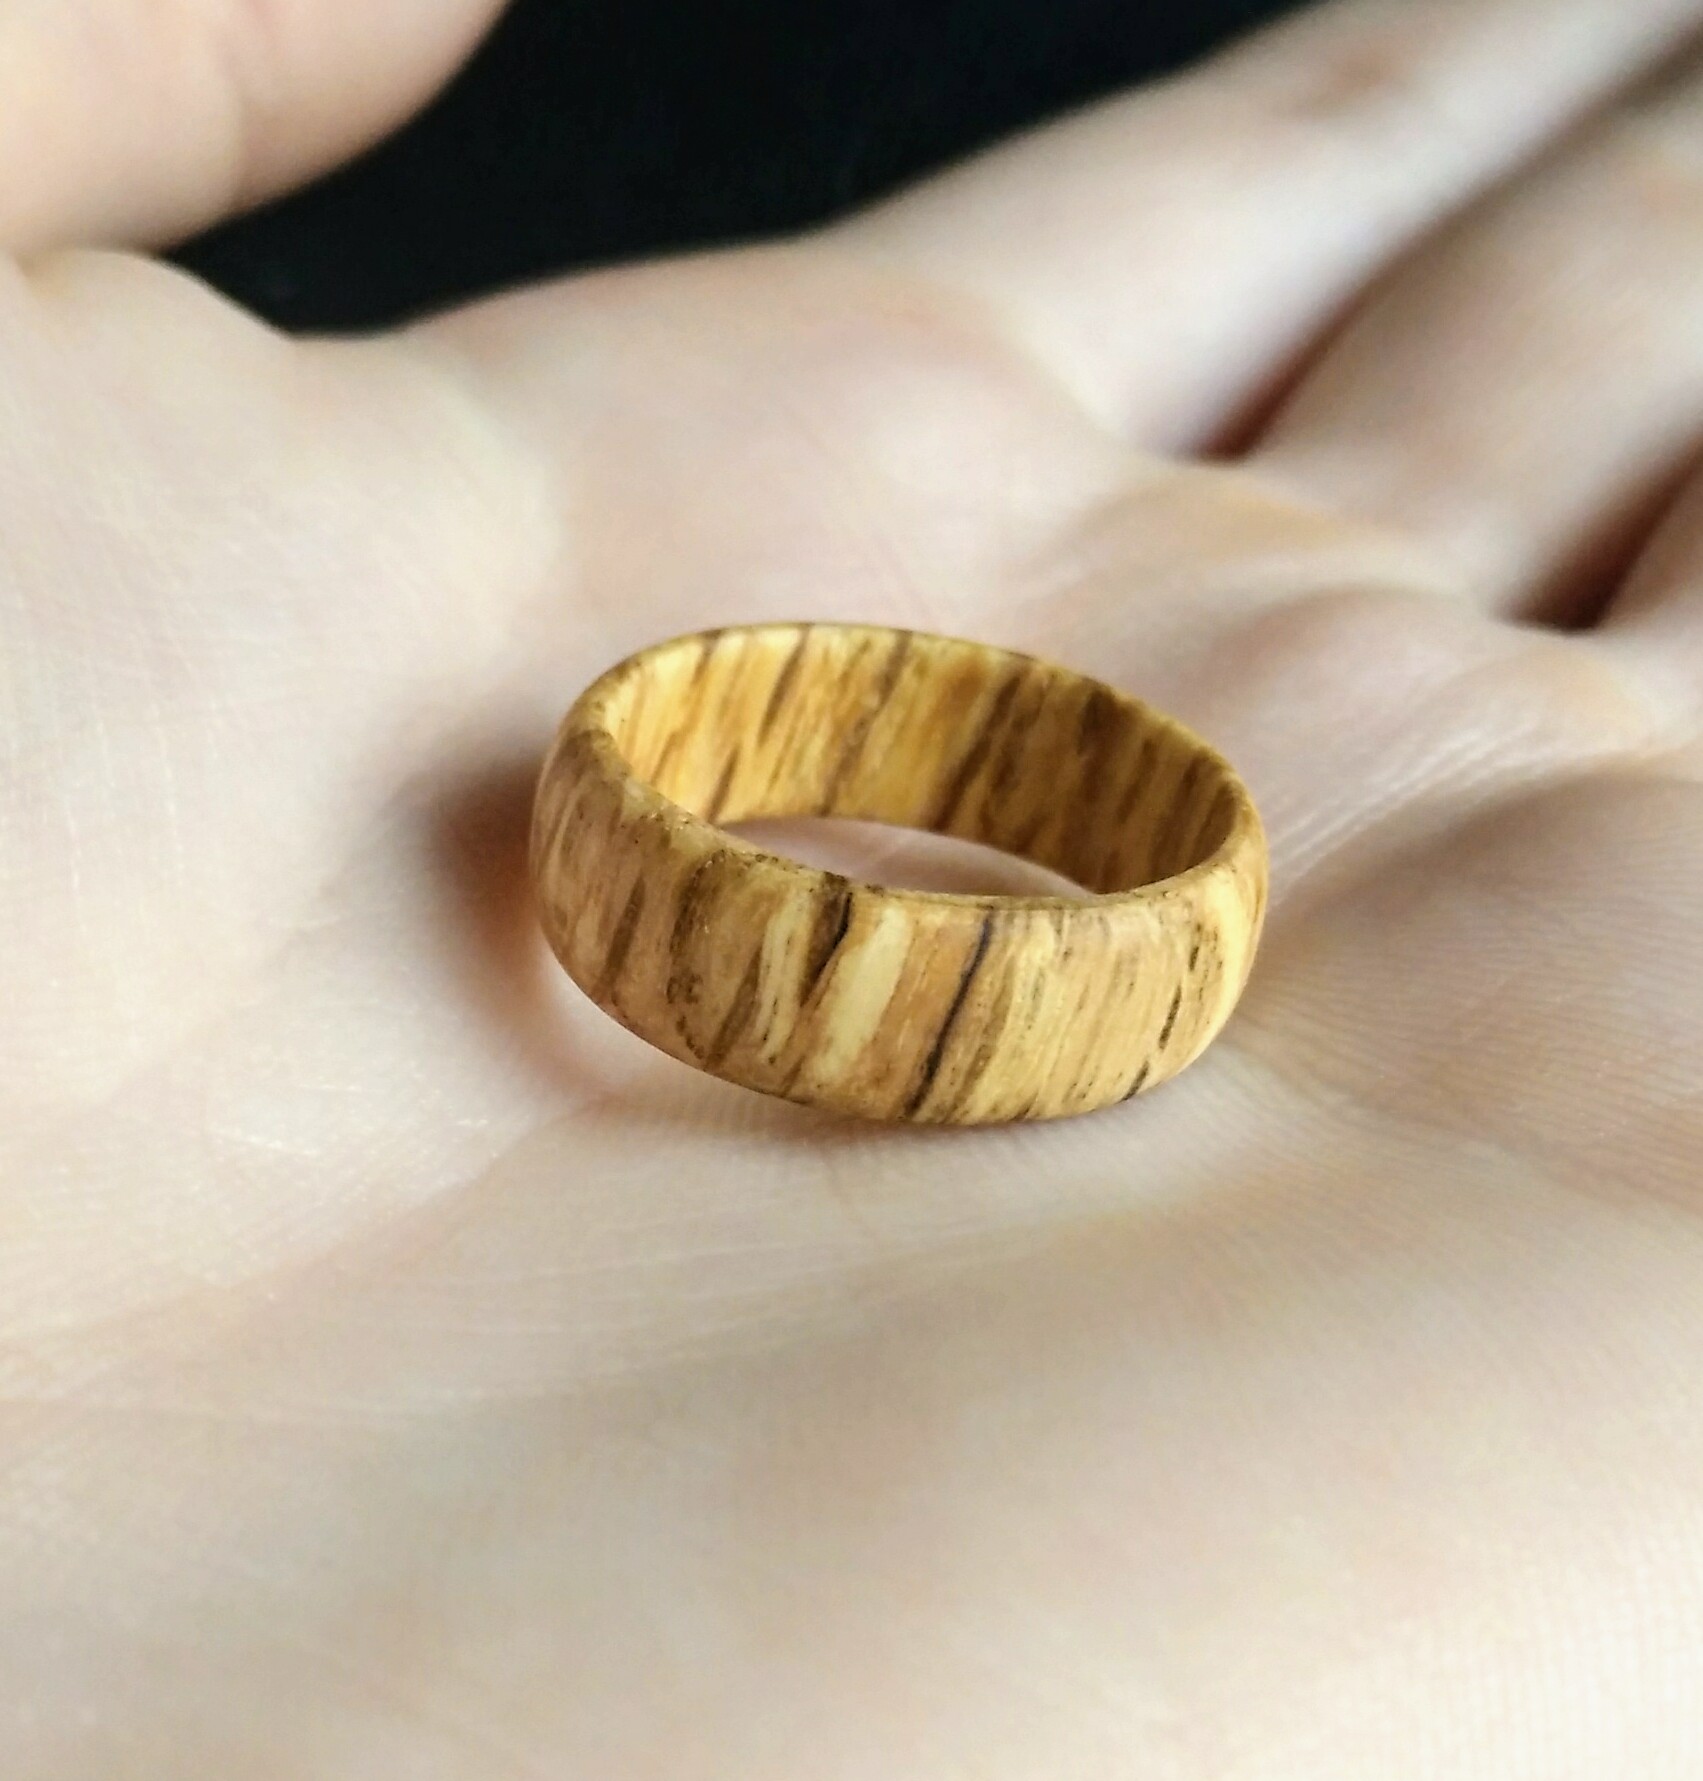
The finished product:
and an extra detail on the oak ring:
Yeah they do! I get why swarf looks pretty but people make way too big a deal about it. Delrin -- what I made the fixtures from -- is fun for roughing cuts; you can get the feed rate up fast enough for it to stop stringing and ball up into tiny chips that shower all over. Also a good way to learn to keep your mouth shut while running the machine.
